Category: Featured
-
Bits from our trip
We had an eventful trip overnight to Yosemite yesterday and here are a few photos. One of the things that was interesting was to harvest some wild elderberries. I have been looking for them because it’s been said that my little king bird likes them in their diet. I like elderberry jelly as well so…
-
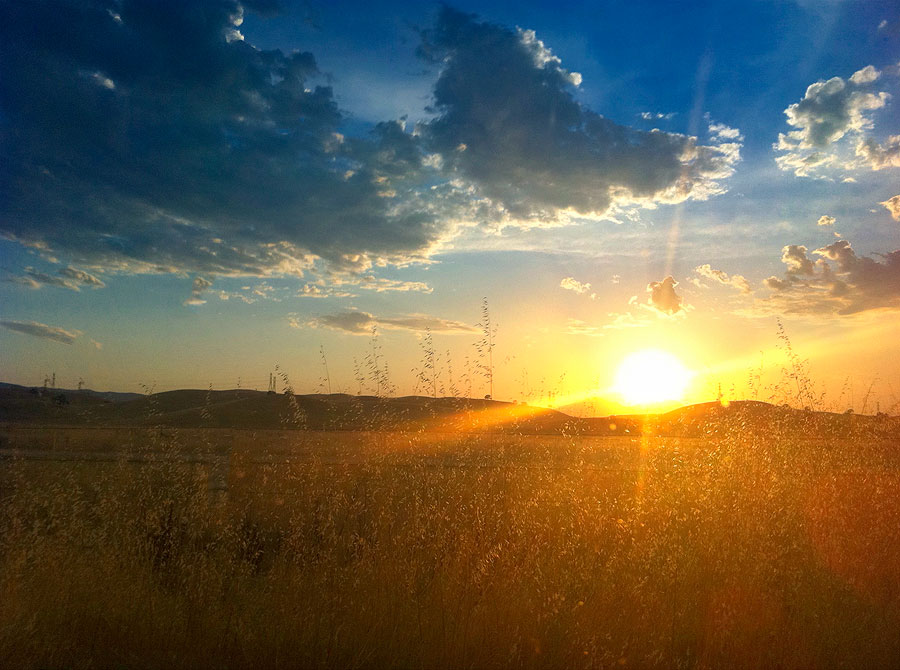
A little evening drama
It started out as a clear hot day today leading into a dramatic evening. Always awe inspiring when nature gets bored.
-

How to draw a cute ladybug in Photoshop
Step by step When drawing from scratch I usually draw my little cartoons with a combination of Adobe Illustrator and Photoshop but I decided to not stick with what was familiar to me and try to do the whole drawing in just photoshop. I used mostly used shape layers tracing a drawing that I…
-
A couple from fern spring
It was nice to go to Yosemite – a place I go to quite often and discover a little gem I haven’t seen before. It’s just a little spot along the side of the road called Fern Spring that runs all year round. Below are a couple shots taken with a tripod at ISO 100,…
-
Sharing a garden special
Below is a nice little video from Burpee seeds on growing lettuce. They have a special of no shipping this weekend if you mention weeknfree on checkout of an order of $40 or more. They mention in this video that lettuce is a cool season crop so they would like you get started on your…
-
Beginning Photoshop CS5 hands-on course in Antioch
I will be teaching 6 hours of hands-on training in Adobe Photoshop CS5 at the Antioch Recreation Department. You’ll start with a basic introduction of the interface to feeling comfortable with many of the tools. You’ll fix photos and create your own artwork from scratch. [button link=”http://www.ci.antioch.ca.us/Recreation/registration.asp” newwindow=”yes”] Registration Information[/button]
-

Finnessing the King
Below is the king of my poodle pack (at least in body weight) and following that is how I made a little more kingly… Original I am lucky to have a great little poodle who will gladly do anything I ask him to do as long as he can have jerky treat at…