Category: Tutorials
-
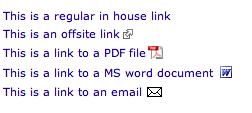
Special icons attached to special links
I thought I would share a little tip that just makes getting around sites easier and easier for the web content creator to maintain. If you find you have a lot of external sites you are linking to or links to PDFs it’s good practice to somehow tell people that information before they click. Otherwise…
-
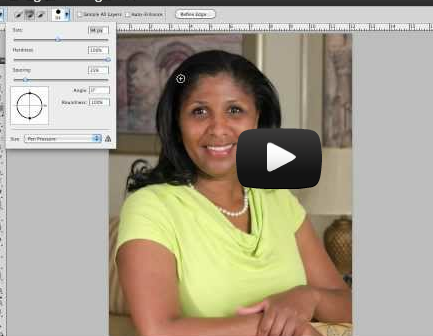
How to extract an image with hair
Today I gave a little 30 minutes talk at REI for our local camera club I found on meetup.com This post is a recap of my talk for those who would like to try extracting an image with hair using photoshop CS5 and the steps written below. Please let me know if you have any…
-
Using google drive to create a form
I just recorded a quick little screen cast to explain how to use Google Drive to create a form that people can fill out on your web page. It’s quick, easy and the best part free! Just thought I would share:
-
How to alternate table row colors
Just had to share a snippit. I have been trying to alternate row colors globally and haven’t had luck in IE with this bit of CSS tr:nth-child(even) { background-color: #ccc; } It doesn’t work in most IE browsers and then I found this bit of jQuery and it seems to work like a charm!…
-

Metal up your type
The purpose of design is to communicate a message and therefore I believe special effects should be used only if there is a reason to use them. This means it’s probably rare that you’ll need to create metal type but as a designer you should know the concept of how to do it even if…
-

Vehicle graphic detail
After 40+ years Chapman’s Dog Grooming of Antioch is going mobile! Here is a closeup of part of the graphics I am doing for the mobile grooming vehicle. The image of the dog is high resolution so it’s enough for printing on the door of the vehicle and the grass and bubbles were created in…
-

How to make an RSS feed with an easy subscribe link
Getting content spread around! Making an RSS feed for my website seemed like a very simple concept but when I tried to find informaiton on it I ran into a lot of problems. It seemed like everything I tried didn’t work. Welcome to the world of web development! For a while I used google reader…