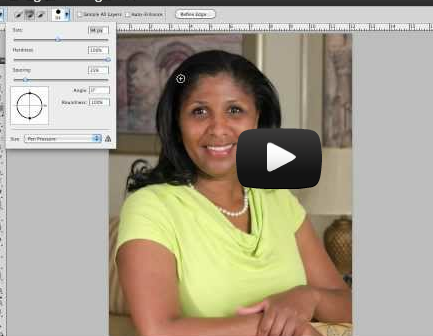
Today I gave a little 30 minutes talk at REI for our local camera club I found on meetup.com
This post is a recap of my talk for those who would like to try extracting an image with hair using photoshop CS5 and the steps written below. Please let me know if you have any questions about the process or would like me to explain anything further.
1. Select the Quick Selection Tool or press W on your keyboard
2. Click and hold on the person that you want to extract, hold the mouse and sweep over all the areas you want. If you go outside the area you want don’t worry about it.
3. Hold down the alt or option key on a Mac and watch your cursor turn to a minus. Then you can deselect the areas you don’t want selected by touching and dragging over them. You are basically telling Photoshop the block range of colors you want by narrowing down the selection.
Here is where the magic happens!
4. With the quick selection tool selected and the “marching ants” on your selection you will see the refine edges button in one of the floating tool boxes.
5. Once clicked you will see a list of of sliders. To see what everything does exaggerate the slide both ways to figure it out and then fine tune the adjustment.
6. You will also see a drop down menu to show what your selection will look like on various backgrounds such as white, black or transparent.
What follows are the selections I like to use.
7. Click “smart radius” and move the slider slightly. This blends the edges with transparent edge.
8. Feather makes the image blur on the edges. This works if you have a shallow depth of field. Slide as you prefer. I don’t touch this much.
9. Contrast make a hard edge. I only touch this slightly as well.
10. Before sliding “shift edge” however make sure your brush is selected and a brush size large enough to cover part of the hair and the other half of the brush the area outside the hair and brush all around the hair to extract it. Let go and see you’re almost there!
11. Then slide the “shift edge” slider and see how much it smooths the edges!
12. Lastly click on “decontaminate colors” and depending on what your object was against it will get rid of the reflected colors in the hair that was in the background before.
13. I like to select my output as “new layer with layer mask” and then when I click ok I can further fine tune my selection in the layer mask!

Leave a Reply