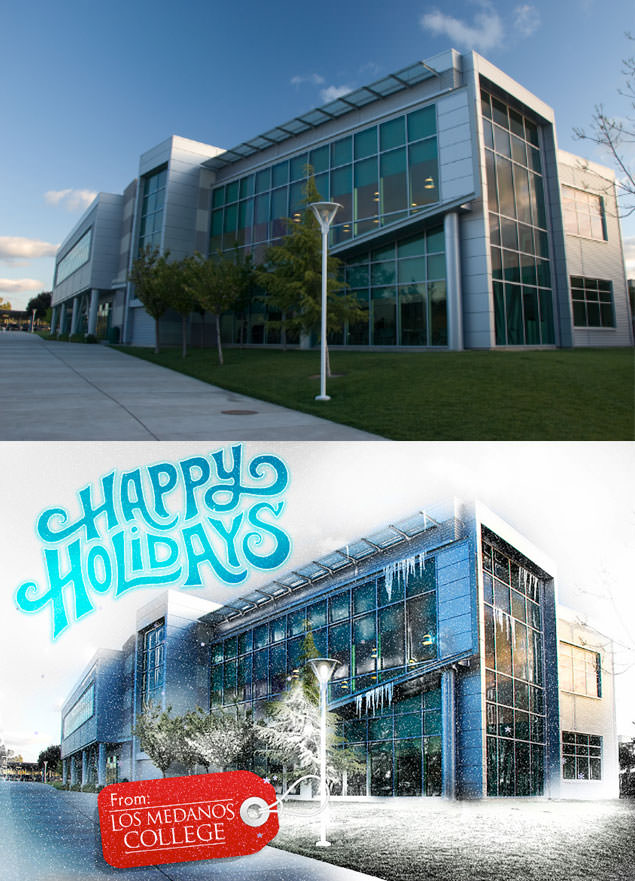
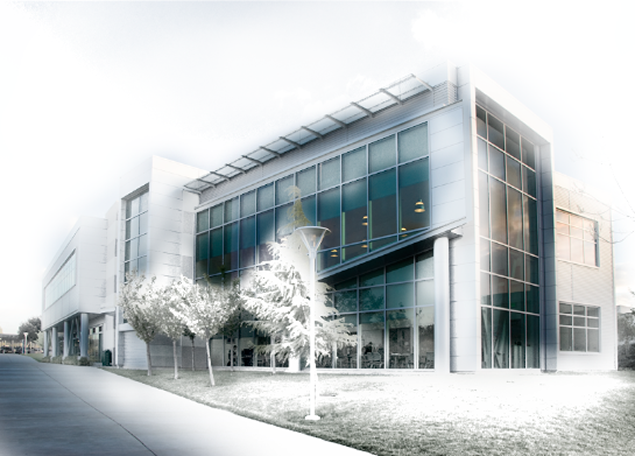
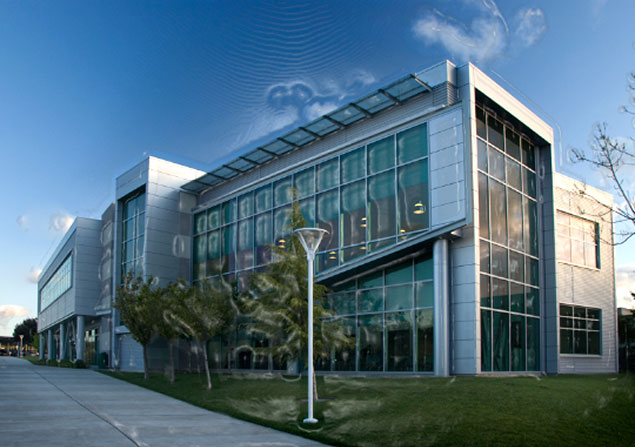
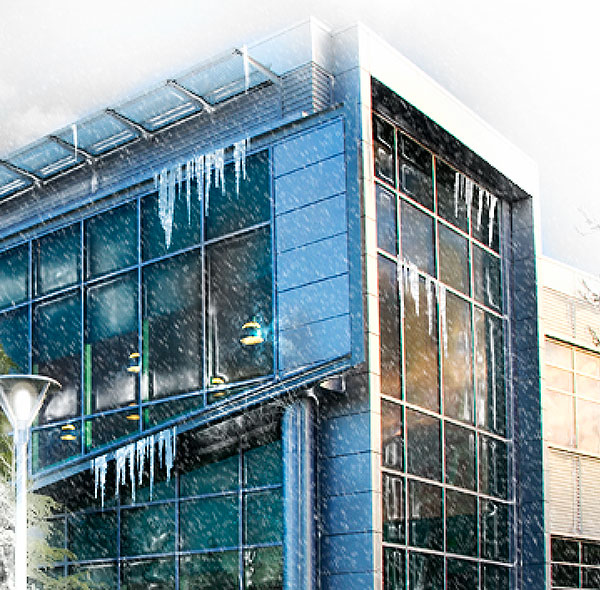
I was asked to make a little holiday card for work where one of the buildings would be frosted. We don’t get frost like this so that’s why it’s a little funny. Many asked me how I did it. I used several photoshop tricks in combination with fine tuning some of those tricks for this particular image. Below is the original I started with followed by the final image.
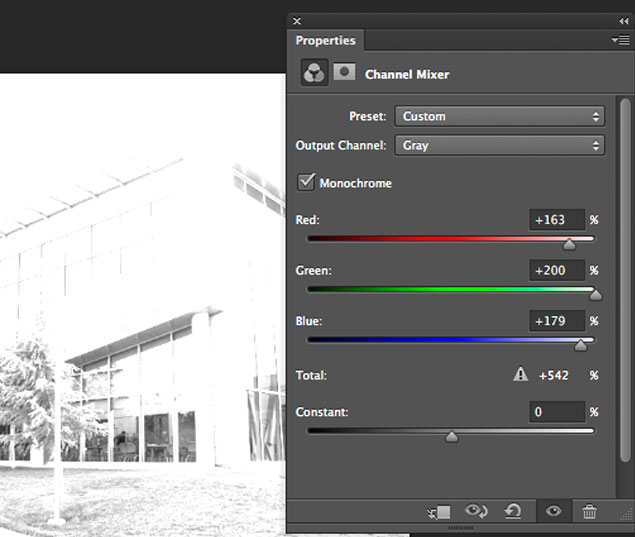
The first problem was getting a light dusting of snow in the scene. For this I used the channel mixer which seems to work best on areas where their is green. Select image > adjusments > channel mixer
Then put in the settings like you see below. Keep in mind that every image responds differently so you’ll have to play.
After you applied these settings you should have a pretty bleached out image but you can see where the slow might be clumped to the tree and grass. In the layers palette change the blend mode to hard light. This will let some of the green color show back through.
Select the white square in the channel mixer layer and then click on the brush. Make sure your foreground color is set to black. Play with the opacity as you brush the snow off in various parts of the image. Make sure to white out the sky as well since you never have a blue sky on a snowy day.
Duplicate the layer with the original photo and go to filter > filter gallery. Choose plastic wrap. This will provide some frost for the windows.
Use layer mask to erase away any areas that you don’t like that the plastic wrap did.
Now it’s time to add some snow.
- Make a new layer above everything and fill with black.
- Filter >noise > add noise

- Go to Filter > Blur > Blur more
- Go to Image > Adjustments > Levels. Slide the three triangles so the effect looks like mine.
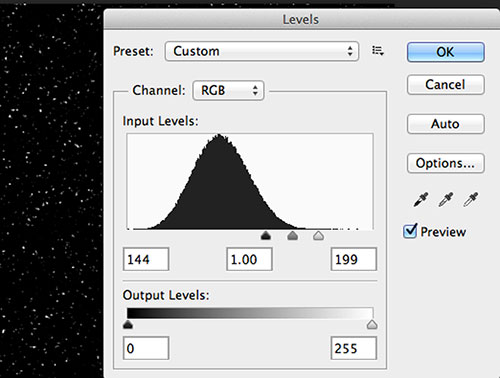
- Change the blend mode of this layer to screen. Magic! It’s starting to look like snow.
- Duplicate this layer and flip it to make thicker snow. (edit > transform > flip horizontal)
- To give the feeling of moving snow go to filter > blur > motion blur. Adjusting the angle implies wind direction and distance is how long the trail is. Make sure to do this to all your layers of snow.
- To make the snow flakes seems individual select one of the snow layers and go to filter > pixelate > crystalize.
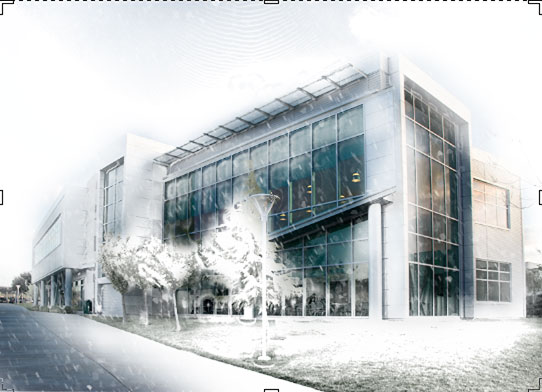
Lasty to really make this a frost image I added icicles by downloading some (free brushes from the internet here). I could have made them but this was quicker and easier. Download the one with the icicles and double click to install. Size your brush and make the icicles on their own layer. You may need to go to image > transform > distort to adjust the 4 corners to fit into the areas they need to or to adjust scale.
That’s pretty much it! The rest is just fine tuning the details. 🙂
Leave a Reply