How to draw a vector-based jack o’lantern in Photoshop with shape layers

How to draw a vector-based jack o’lantern in Photoshop with shape layers

Happy Pumpkin!

Since it’s season appropriate I thought I would share what I taught my photoshop class on how to make a Jack o’lantern using the pen tool and shape layers.

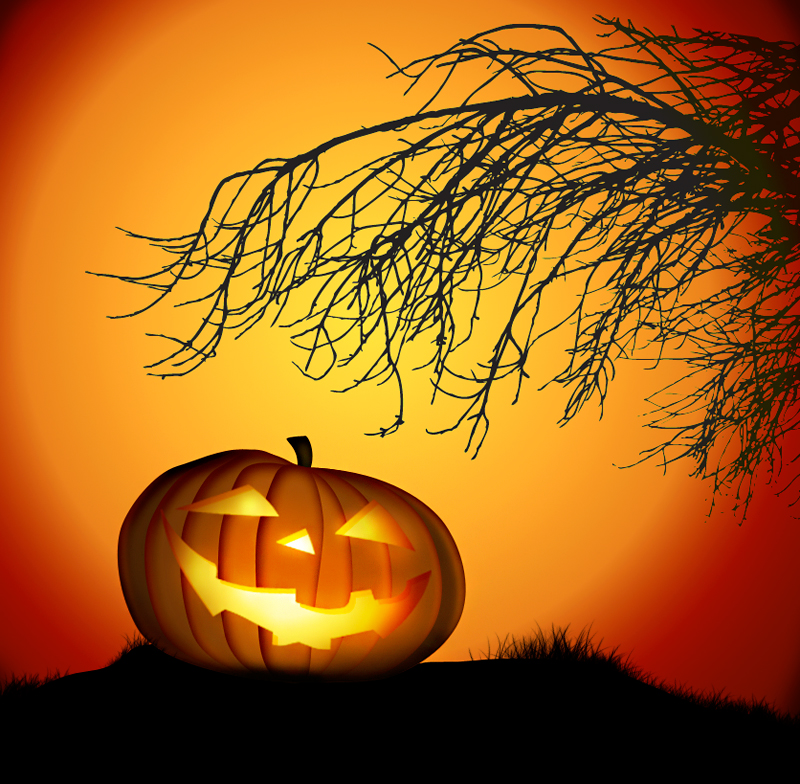
Below is what the final image looks like that for the most part would scalable as a vector based graphic before I turned it into a bitmaped image for display purposes here.

[button link=”http://www.eloine.com/ex/finalWpumpkin.psd” color=”orange”] Download layered PSD[/button]
vector based pumpkin

Start with a outline of what you want to do. Below is the sketch I started with and took a picture with my cell phone to get it into Photoshop.

Then select the pen tool and make sure the first icon for shape layer is selected. Then I traced around the outside of pumpkin and made sure my fill color was a dark orange. I used #964b09

To get the shadow effect I click the layer Fx button at the bottom of the layers palette and select inner shadow and make sure your settings look pretty close to mine. (Click image to make bigger)

Duplicate this layer to make a copy of your shape you just made and then go to  Edit > Free Transform Path.  This will make a bounding box around your duplicated object. Use your mouse and click and drag in from the left and the right to shrink the second oval. Repeat the process until you get to the center of the pumpkin.

You should have something close to the image below. If some of the shapes don’t look right just use the pen tool and then press  your control key and make sure your curser looks like a hollow arrow (called the direct selection tool). Then touch the edge of the path you created to activate the control points that you can move or bend.

After you are satisfied turn off all the layers that are the pumpkin so you can see the sketch and make a new layer above layers of the pumpkin and name it “face”

Using the shape tool outline the pumpkin eyes, not and mouth and make sure your fill color is white. Then duplicate my settings below for  the inner shadow replicate my settings by using this color #812c03 (Click image to make bigger)


For the gradient overlay your going to create a custom gradient with the colors #fff4c5, #ffdd4d and #6c1501 (Click image to make bigger)


After you finish with the pumpkin and it’s face don’t forget to make a little shape for the stem and put that on the layer beneath everything else.

When all done group all your layers together by clicking the folder icon at the base of the layers panel and dragging the layers in there. This is so you can flip or transform or apply various options to all the layers at once.

I made a new file and then applied a radial gradient of an orange yellow to a very dark orange for the glowing sun or moon or whatever that is. Then with the pen tool I made a shape filled with black that the pumpkin would sit on.


Below is the pumpkin with a new layer on top with the blend mode set to overlay and using a soft white brush I painted in some glow and then a black brush I painted in some shadows.


When I turn off all the layers but the one mentioned above you can see what I did to create the glow and shadow over the transparent area represented by the dark checkerboard pattern.

Lastly I thought this image needed a spooky tree. I could have drawn it but being the Fall it was so much easier just to shoot a picture of a barren old branch.


I then went to image > color range  and shift + clicked  areas of the sky to make a selection of everything else but the branches. (click image to make larger)


I then when to select > inverse  selection to select only the branches. I pasted that into Adobe Illustrator and then told it to trance the image. I could have done that with Photoshop but it takes up a lot of RAM because it’s not as clean a trace. The other option would be just to fill this area with solid black to make a silhouette and that would have achieved the same appearance. It just wouldn’t have been scalable. That is an option though if you don’t have Adobe Illustrator.

Next just choose the blend mode of darken  to make sure none of the white shows over the orange sky and only the black.


Lastly I used brush number 134 and varied it’s size, scatter  and turned off color dynamics in brush presets to make the black grass.

I hope you enjoyed the tutorial and can find it useful when making other things!